Showing posts with label Copics. Show all posts
, , , , ,

Christmas Money Holder


Hi there lovelies,

I hope that you're enjoying the week so far!

For today's inspirational post I created a money holder, perfect for those "picky" relatives ;-)


The stamp that I used to create this money holder is from Some Odd Girl Stamps and is called Mini Elf Digi Stamp. I colored it with Copic Markers.


I cut the shaped envelope using a SVG file and my Silhouette Cameo. Patterned paper and tag are from Craft Smith. And the holiday trim is from Lawn Fawn.

Easy, right? LOL

Have a great day! ~xoxo~


Share:
Read More
, , ,

Blog Hop: Trick-or-Treat with the Odd Girls


Hi everyone and Welcome to our annual Trick or Treat with the Odd Girls! I hope that you are enjoying this blog hop so far. Everyone has done a terrific job putting ideas together to inspire you.

Below you will find my creation... a Happy Halloween tag featuring this super cute digi stamp called Unicorn Mae, which I colored with Copic markers. Cork paper is from Prima Marketing, Inc. and the sentiment is from Stamping Up. The rest are diecut bats, cheesecloth, and trims.


Alright... so for a chance to win... here's what you have to do (which I'm sure you already know but just in case, here it is again!)... Every blog along the way will have a crafty trick for you but you won't get the treats unless you are a good trick or treater and stop at every blog and leave your comment.

Here is our hop order for you so you don't get lost trick or treating ;-)

-->Me<-- (you are here!)

You can Trick-or-Treat with us through midnight EDT on November 3rd. Winners will be announced on November 5th.

Remember to comment at every stop, those who do will be rewarded with a special treat.


Share:
Read More
, , , ,

A "Joy" Card


Yeap... I had to create another Christmas tag.

If you missed the first one, here's --> the link <-- to it so that you can check it out.

On today's tag, I'm featuring Mini Gingerbread Man Digi Stamp --> Click here to get yours. <--


I colored him using Copics markers on Bristol Smooth Surface paper. The tag and pointsettia is a Sizzlit, and the letters are from Bella Blvd.

And in case you were wondering, I plan on creating more Christmas tags. So stay tuned!


Share:
Read More
, , , ,

A "Merry" Tag


Hi there lovelies,

Finally... I think it is time to start thinking about Christmas!!

I know... Halloween isn't over yet, but I just loooove Christmas. I guess it is my favorite time of the year :-D

Anyway, Some Odd Girl Stamps started releasing Christmas digis and I just couldn't help myself, so I had to start coloring and creating right away.


The featured digi is called Mini Rudolp Digi Stamp and you can find it by clicking here. I colored him with Copics markers on Bristol Smooth Surface paper.

The tag is a Sizzlit, and both patterned paper and letters are from Bella Blvd.

I hope that you're having a terrific week! Thanks for stopping by! ~xoxo~


Share:
Read More
, , ,

Happy Fall


Hi everyone,

I can't believe that it's Fall already! Time sure flies. Next thing you'll know, it's going to be Christmas.

Anyway, to get started with Fall, I created this Fall inspired tag featuring the lovely Daffodil Fairy Digi Stamp by Some Odd Girl stamps.


I colored this cutie using Copic markers on Bristol Smooth Surface paper.


As for the tag, I used patterned paper from Prima Marketing, Inc. I also used trims, a doily, a sunflower, foam tape for dimension, and I cut the letters using my Silhouette Cameo.

I hope that you're having a terrific week... and thanks for stopping by! ~xoxo~


Share:
Read More
, , , ,

Mini Mermaids


Hi there lovelies,

These are my most recent cards for Some Odd Girl Stamps...


Two circle/scalloped cards featuring the Mini Mermaids.


I colored them with Copics markers and Caran D'Ache Luminance pencils. Aren't they cute? :-D


As for the cards, I cut both the circles and the scalloped circle cards with my Silhouette Cameo, then I stitched the borders, and added flowers and sequins as a finishing touch. Both sentiments are from Magnolia stamps.

Summer is almost over and school starts back again soon! We'll see how this school year goes ;-)

Happy Stamping! ~xoxo

Share:
Read More
, , , , ,

Have a Sunny Day!


Hi there lovelies,

Today's inspirational post is sponsored by Some Odd Girl stamps ;-) I created a shaker card using the Under the Sea Mae stamp set. You can find this set by clicking here.


I colored the stamps with Copics and Prismacolor Pencils on Bristol Smooth Surface paper. The background paper is by Prima Marketing, and the sentiment is from Magnolia stamps.

Here's an "unfiltered" version of the stamp ;-)


Thanks for stopping by! ~xoxo~

Share:
Read More
, , , ,

Baby Card


Happy Monday peeps!!

I can't believe it is June already! It seems like it was yesterday when we welcomed the new year. Not complaining by the way. I love Summer! It is one of my favorite seasons. If you live close by the beach just like me, you'll find yourself enjoying from the sand, the ocean, and from beautiful sunsets more often. It is also a season to prepare for other things... like welcoming babies ;-)

Not mine if you were wondering :-D Someone close to me is having a baby, so I prepared this card for her...


I used Hang Out Ollie stamp by Some Odd Girl stamps and you can find it here. I colored the stamp with Copic markers and Prismacolor Pencils.


I created the shaped card using my Silhouette Cameo, and since she's having a baby boy, I kept it simple and used blue colors to match.

I hope that you're enjoying the Summer as well! See ya' next time!

Share:
Read More
, , , , ,

Happy Birthday!


Hey there lovelies,

As promised here's the *birthday* card I was telling you about on my last post...


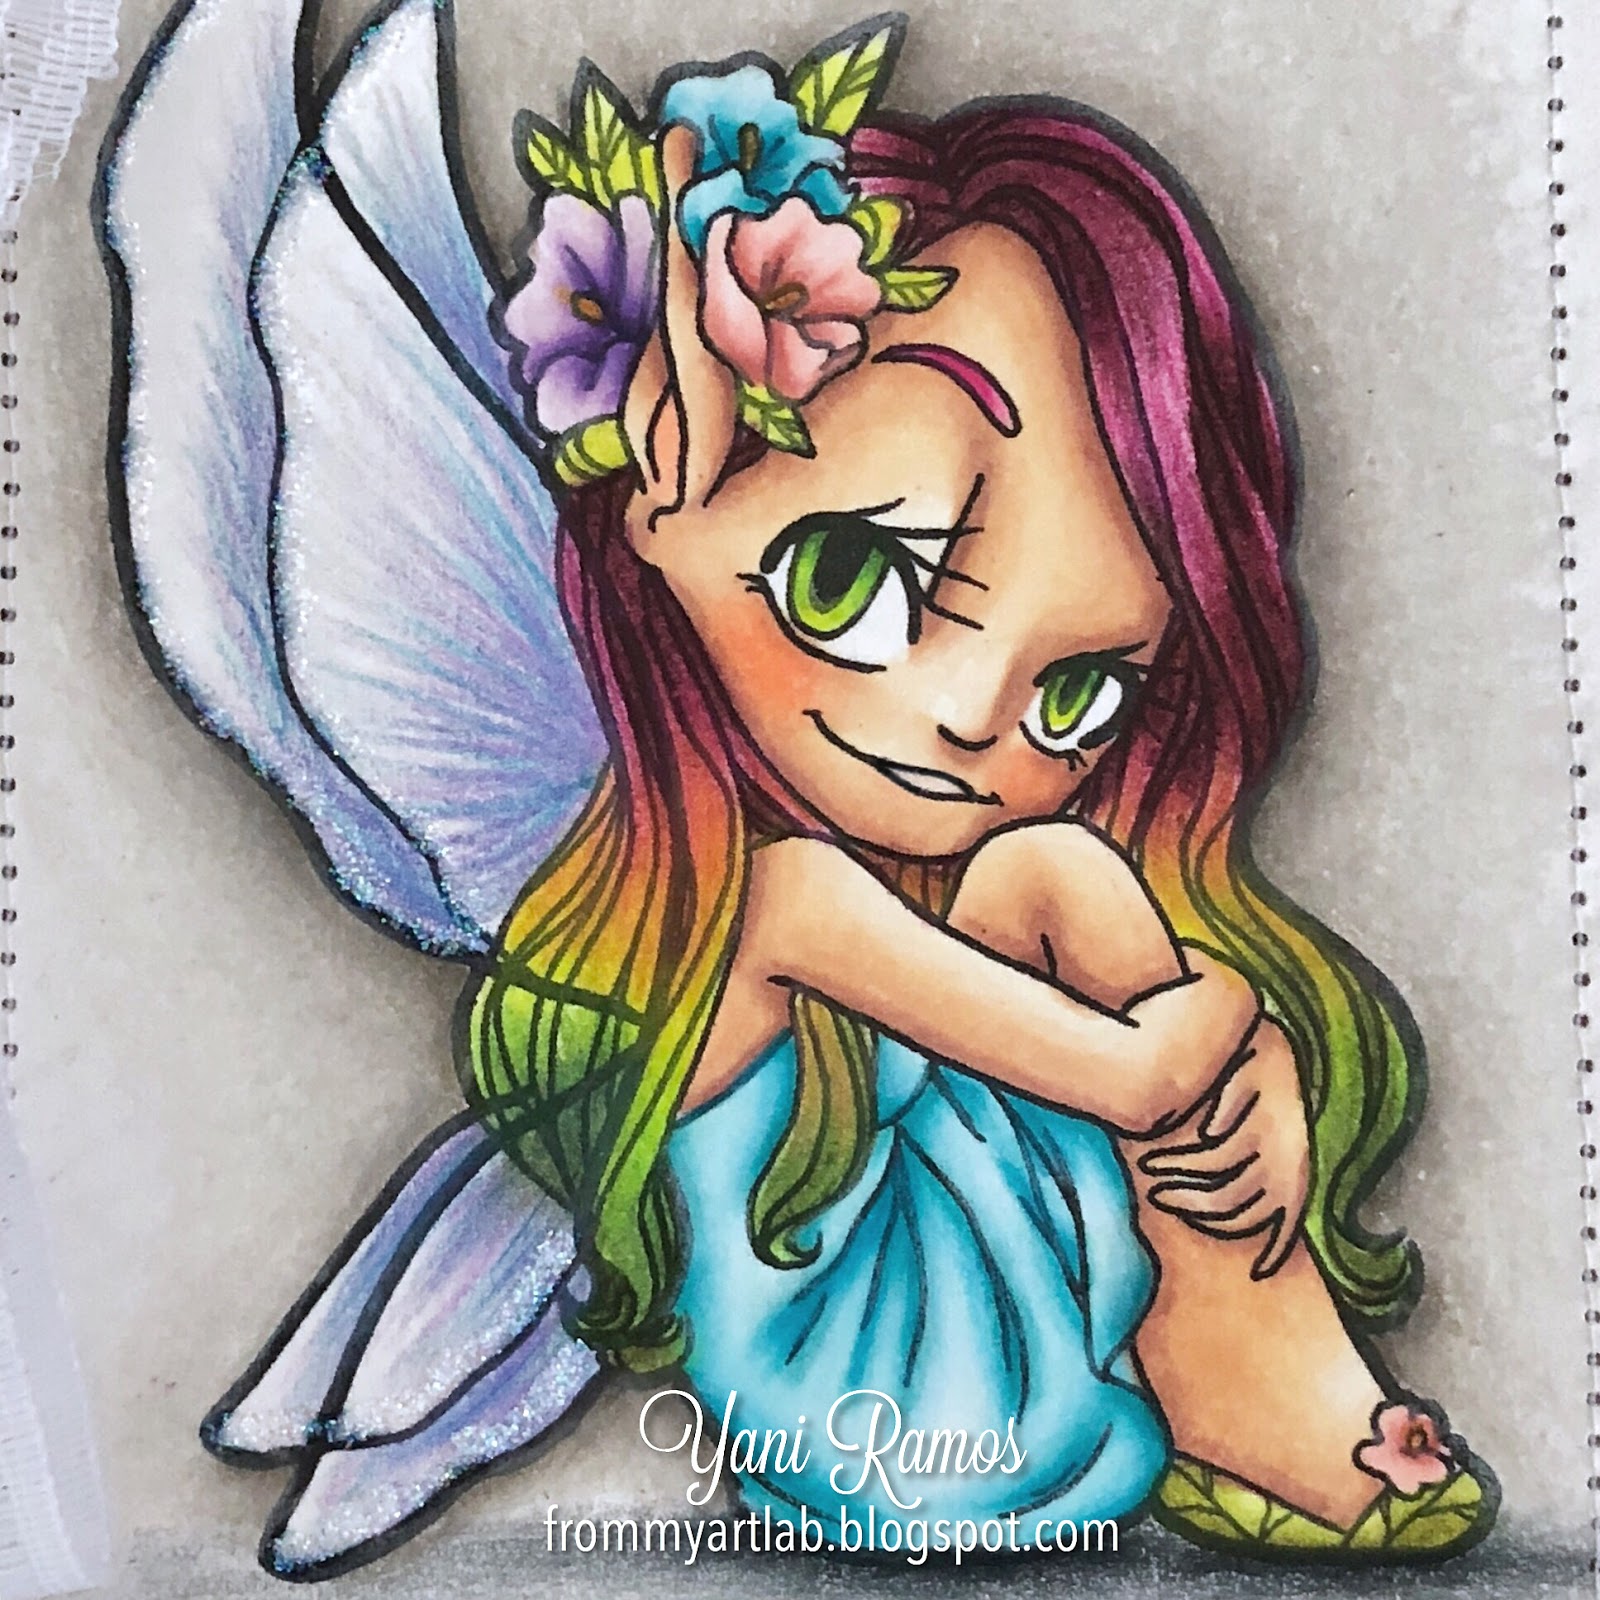
The stamp that I used is called "Fairy Magic" and it's from Some Odd Girl Stamps. I colored it with Copics, Luminance Pencils, and my most trusted Prismacolor Pencils ;-)


I also added Stickles to her wings because I just love glitter :-D

Thanks for stopping by! ~xoxo~


Share:
Read More
, ,

Mother's Day Card


Here's a quick and simple /aka "mailable" ;-) card for Mother's Day...


The stamp is from Some Odd Girl and it's called "Spunky Sprite". Isn't she adorable? :-D


I used Copics and Faber Castell Polychromos pencils to color her. Sentiment and hearts chipboards are from Heidi Swap, and papers are from My Mind's Eye.

Next time... a birthday card maybe?! ;-)

Thanks for stopping by! ~xoxo~

Share:
Read More
, , ,

Saturated Canary: Bookmarks

Hi everyone,

It's time for another inspirational post from Saturated Canary stamps!


Today I'm sharing two bookmarks that I made recently. I've been having this idea in my head for a long time and I never had a chance to develop it.


They measure 6 1/2" x 2 1/2" and you may be wondering what's the big fuss about them? Well the thing is that they're "shaker" bookmarks.


After I colored the stamps (I used Copics and Polychromos Pencils), I placed everything (sequins too) inside a plastic and sealed it with a photo sleeve fuse (Project Life). Then I punched a hole on top and attached ribbon to give it a finishing touch :)

BTW, the stamps that I'm showcasing here are called "Nevaeh" and "Pixie Nerd" and you can find them here.

Thanks for stopping by!! ~xoxo~

Share:
Read More
, , , ,

Shine Bright on Your Day!

So recently I celebrated my birthday :-D
and of course, I had to create a card for such an important occasion...


The stamp that you see here is called *Starshine* and it's made by Saturated Canary stamps. You can get yours by clicking here.


I colored it with Copics and Polychromos Pencils (yeah, I cheated on my Prismacolor Pencils...LOL!) The background was made with chalk in different shades of pink and purple, and the sentiment was computer generated. I also used sequins, Stickles, and a glittery white cardstock to add more "shine" to the card ;-)


I hope that you liked it and thanks for stopping by!

Share:
Read More
, , , , ,

Small Paper Basket Tutorial

If you missed it the first time, here it is again!


A video tutorial on how to create a paper basket, featuring *Hoppy Easter* stamp by Saturated Canary.


And here's the original post for this tutorial --> Making a Paper Basket Tutorial - Easter Edition.

Happy Spring everyone!! ~xoxo~
Share:
Read More
, , , , ,

Getting Ready for Halloween!


Not ready for Halloween yet?

Then check out these two videos that hopefully will bring you some inspiration ;)

The first one is a *speed-coloring* video on how to color Arrow Zombie stamp using Prismacolor Pencils and Mineral Spirits...


The second one is a *Test Tube Holder Tutorial* that I created last year for Saturated Canary You Tube Channel.


Of course, both videos feature stamps by Saturated Canary ;-)


Happy Trick-or-Treat*ing!!
Share:
Read More
, , , , ,

Shadow Box with Interactive Image Tutorial


So it is time for another Saturated Canary tutorial!!

Here I show how to create a lovely *shadow box* with a *moving image*.


For the shadow box, I followed Katharina Frei's book card -->tutorial<--. Of course, with a few differences to suit my shadow box ;-)


For the moving image, I used *Summer* stamp from Saturated Canary. I created her using the 3D paper piecing technique by Mariska van der Veer. See tutorial -->here.

Basically you stamp the image 5 times (since I used a digi image, I printed it 5 on the same paper), then color her randomly among the 5 images, cut it all out in pieces, and adhere using 3D dots! It is very easy to make, but also time consuming. The finished product looks lovely though.


Finally I added a pic (of my cat), as I wanted it to be portrait like.

If you want to know the measurements and the supplies used, you will have to watch the video -->here! ;-)

I hope that you like it and thanks for stopping by!! xoxo
Share:
Read More
, ,

It's Me... Edwin!!

Hi there lovelies!

This one needs no introduction ;-)


From the very first time that I saw him, I knew that I *had* to create something with him.


Living in a house full of men (dogs included!), these kind of things are hard to resist.


I even borrowed my son's book for this photo session...LOL!  BTW, *Diary of a Wimpy Kid* is a great read. I highly recommend it for young and adults ;-)

Two more things...


The newest edition of Magnolia Ink will be released soon. It's full of ideas, step-by-steps, and inspiration that you don't want to miss out!

Second, don't forget to subscribe to my blog by using either one of the three available options to the bottom right of this blog: Follow By Email, Bloglovin, and Networked Blogs. Google Friend Connect is no longer available!

I hope that you have liked my project! And thanks for stopping by!!

Recipe:
  • Stamp - Game On Edwin from Once Upon A Time Collection
  • Inks - Copics, Distress Ink Walnut Stain
  • Tag - Magnolia Doo Hickey
  • Clouds Die - Memory Box
  • Stars Die - Sizzlits by Sizzix
  • Papers - Bo Bunny
  • Letter Stickers - Imaginisce
  • Other - Cheese Cloth, ribbon, 3D dots
Share:
Read More
, , , , ,

Tutorial: Making a Shaped Easel Card


Hi there lovelies,

Long time no see! As many as you know, I was working extra hours in my full-time job and I hardly had time to even breath. But it's all over now and I'm back to normal and hopefully with more free time to create ;-)

Anyway, this week is my turn in Saturated Canary You Tube Channel and for this I prepared *hopefully* a nice and easy tutorial on how to create a *shaped easel card*.

There are many newbies out there that still struggle with certain techniques, so I made this one with all of you beginners in mind ;-)

But before I lead you to my video, here are a couple of pics of the finished project:


All supplies and instructions can be found in the video too!


Also *please note*: if you leave me a comment or email regarding a question that you may have, please leave a valid email address so that I can properly reply to you! I get many emails with questions, but then when I try to reply back, I get the "non-reply" email addy, so obviously I can't answer you back. So please when you contact me, make sure that you do leave a valid email address ;-)

OK now click -->here<-- to watch the video.

Have a good day!!
xoxo
Share:
Read More
, , , , ,

Making a Paper Basket Tutorial - Easter Edition


Hi there lovelies,

My newest video tutorial for Saturated Canary is up!!

This time I show you how to create a cute little basket using a "threading" technique that I'm sure you're going to love. Plus the new Easter Collection by Saturated Canary is stinking cute... you don't want to miss it out either!! You can see them for yourself -->here<--.

And here are a couple of pics of my finished project...


A side view so you can appreciate the tiny details better, like the distressing, the trim and embellishments ;-)


And the back...


I also prepared a matching card using the same image, but bigger ;-)


I colored this image with Copics and I used chalk and acrylic paint for the washed out background. The tag is from Magnolia and the border is Memory Box. Papers are from My Mind's Eye, flowers are from Wild Orchid Crafts and the sentiment is computer generated.

Now here's the link to my video --> Easter Paper Basket Tutorial.

Thanks for stopping by!!
Share:
Read More