
Hi everyone!
It's time for some Easter inspiration ;-)
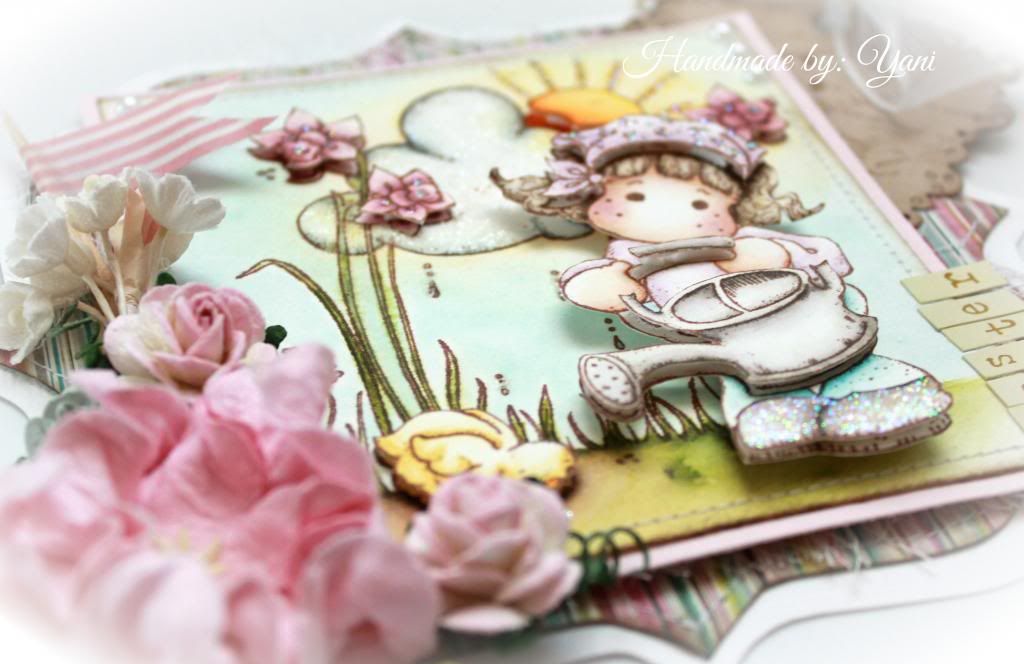
So today I'm going to share with you my latest card using a lovely Tilda from the newest Easter 2013 Collection.

Yes, I'm hooked with these shaped cards! They're so much fun to create and look soooo pretty ;-)

I colored Tilda with Distress Inks and I added Stickles to certain areas for a sparkly touch.
And here's a neat trick...

I stamped *twice* both images (the background and Tilda), colored everything, and then cut out certain pieces from both images and adhered them to the main ones with 3D dots, as seen in the picture.
You can see how the technique is done in this video that I created a couple of months ago, which features another stamp and card, but the process is exactly the same.
Thanks for stopping by!!


This is so pretty. Love all of the layers x
ReplyDeleteAbsolutely gorgeous Yani. Thanks for the tutorial. Hugs, Ivonne
ReplyDeleteI know the secret!! layering!!! lots and lots of layers!!!
ReplyDeletebeautiful, thanks
This is incredibly gorgeous, Jani!
ReplyDeleteLove the beautiful scene you created for Tilda and your superb coloring.
Now, I will have to view your video!
Have a nice day!
Me fascion tu creación.. Tilda se fue al jardin, que bella con su pollito al lado... aah! Me encanta.
ReplyDeleteGREAT Job Yani as always!
-Sony
sonia-studio60.blogspot.com