
Hola!!
Fui invitada por el grupo de FB Smashing en Español para participar de sus tutoriales navideños "20 Días, 20 Tutoriales". Así que ¡muchas gracias Lizvette por la invitación! ;-)
I was invited by the FB group Smashing en Español to offer a tutorial at their Christmas "20 Days, 20 Tutorials". So thanks so much Lizvette for the invitation! ;-)
Y aquí les presento el tutorial que preparé...
And this is the tutorial that I prepared...
ADORNO NAVIDEÑO (Christmas Ornament)
Materiales a utilizar:
Supplies:
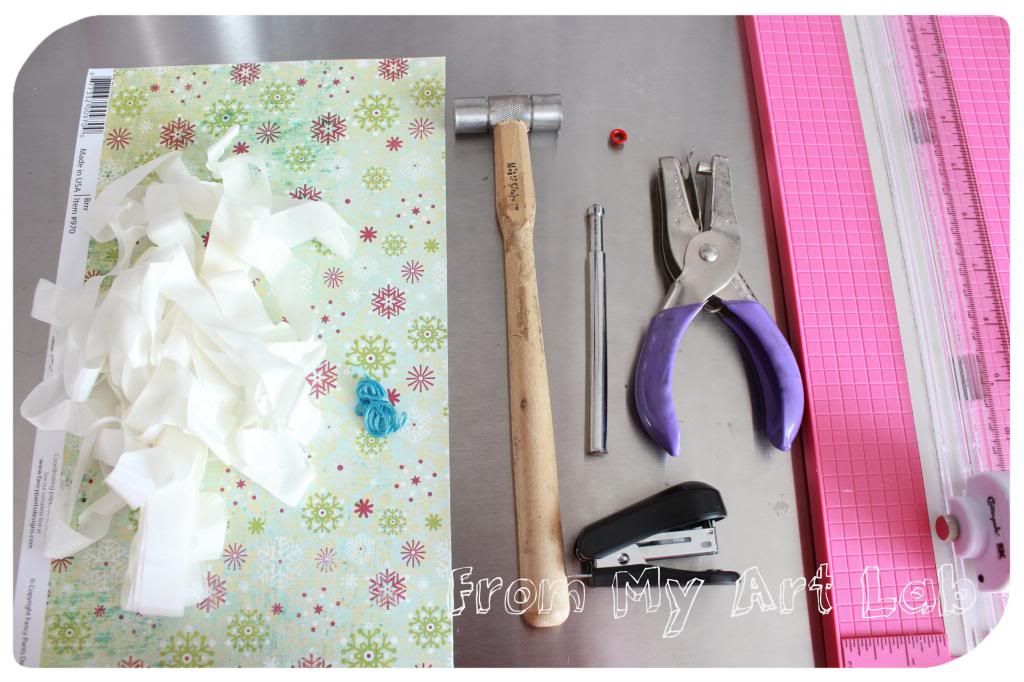
- Papel de patrón doble (Double sided paper)
- Cortadora (Paper trimmer)
- Herramientas para hacer agujeros y colocar ojetes (Hole puncher and eyelet setter)
- Grapadora (Stapler)
- Hilo, cintas, flores y cualquier otra decoración (Embroidery floss, ribbons, flowers and any other decoration)
Procedure:
Paso 1:
Step 1:

Con la ayuda de una cortadora, corta 5 tiras de papel de la siguiente manera:
With the help of a paper trimmer, cut 5 strips of paper to the following sizes:
- Dos tiras de papel 1/2" x 7" (Two strips 1/2" x 7")
- Dos tiras de papel 1/2" x 6" (Two strips 1/2" x 6")
- Una tira de papel 1/2" x 5" (One strip 1/2" x 5")
**IMPORTANTE: Acomódalos en el mismo orden en que se muestra en la foto (de mayor a menor).
**IMPORTANT: Arrange them the same way as shown in the pic (from bigger to smaller).
Paso 2:
Step 2:
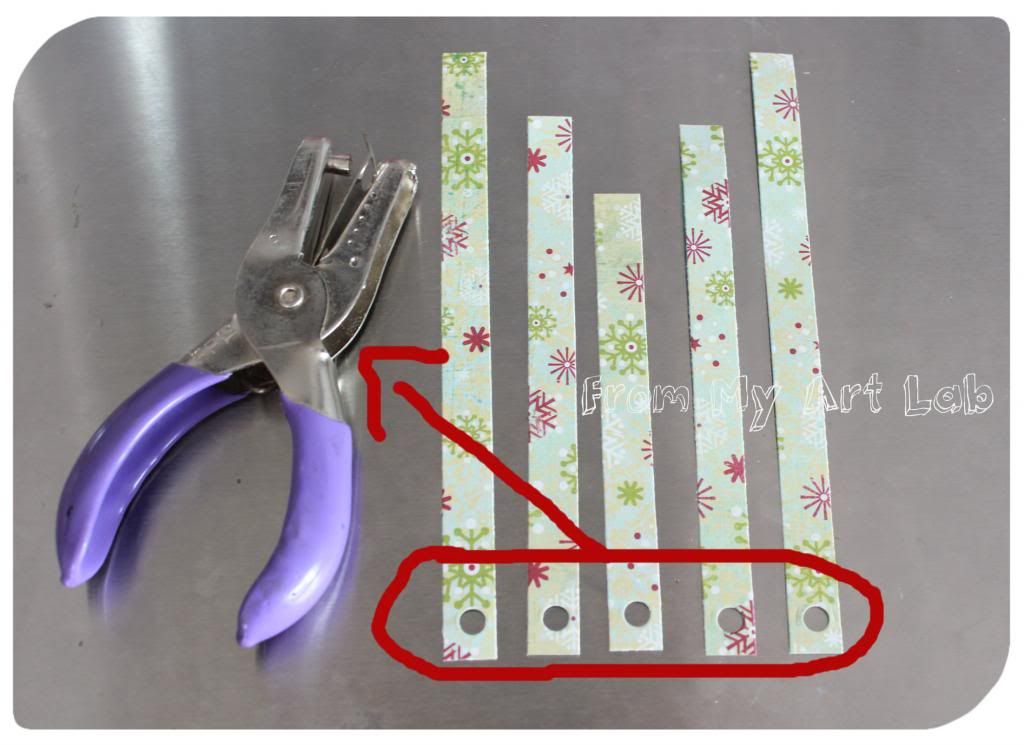
Haz un agujero en uno de los extremos de cada tira, según se muestra en la foto.
Make a hole at one end of each strip, just like shown.
Paso 3:
Step 3:
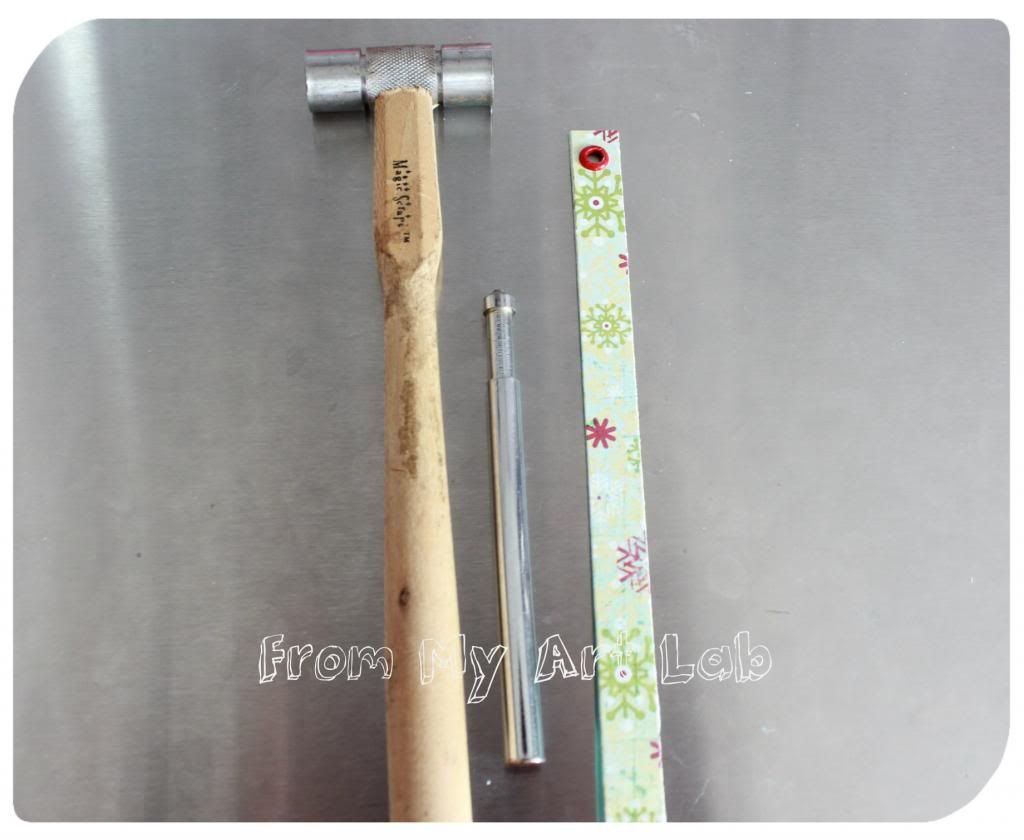
Une todas las tiras de papel en el mismo orden que las colocaste en el paso anterior (de mayor a menor, asegurándote que la tira más corta quede en el medio) y colócales un ojete utilizando las herramientas para colocar ojetes. Esta será la parte superior del adorno.
Align together all strips of paper in the very same order that was done on the previous step (from bigger to smaller, making sure that the smallest strip is in the middle) and set an eyelet with the eyelet setter. This will be the top part of the ornament.
Paso 4:
Step 4:
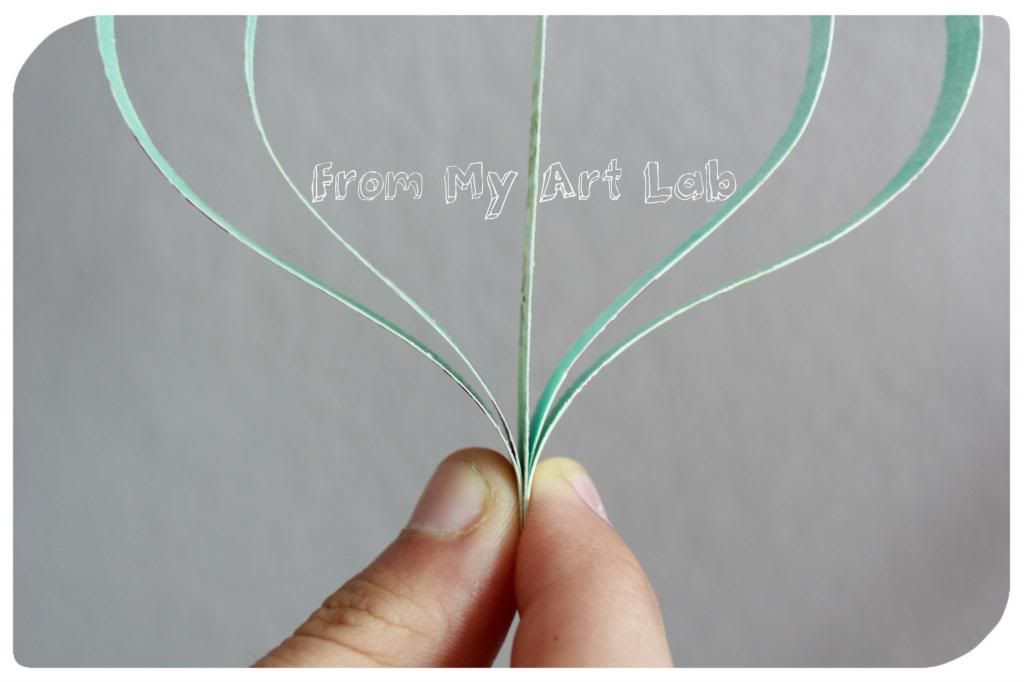
Para la parte inferior del adorno: dobla un poco las tiras exteriores hasta que queden alineadas con la tira del medio (la más corta), según se muestra en la foto. (Esos son los dedos de mi hijo...jaja Me ayudó a agarrar las tiras en lo que yo tiraba la foto.)
For the bottom part: slightly fold the outside strips until they are all aligned together with the middle strip (shorter one), just like in the pic. (Those are my son's fingers...haha He helped me while I took the pic.)
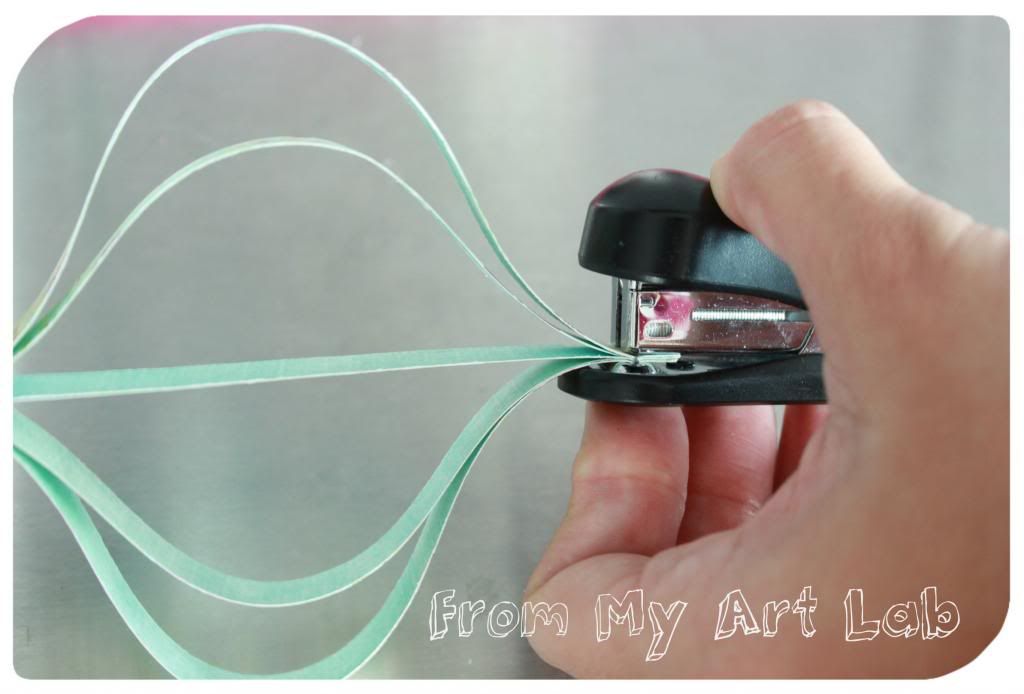
Asegúralas con una grapa. *Puedes también utilizar otro ojete para esto.*
Secure them with a staple. *You can also set an eyelet here.*
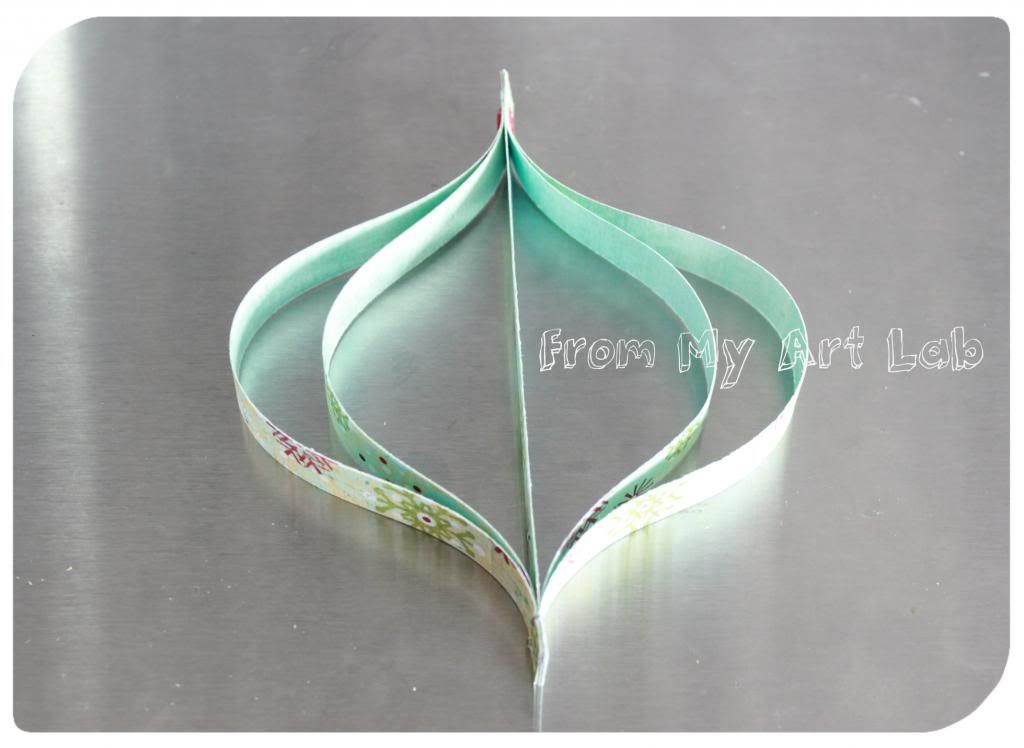
Tu nuevo adorno debe verse así:
Your new ornament should look like this:
Paso 5:
Step 5:
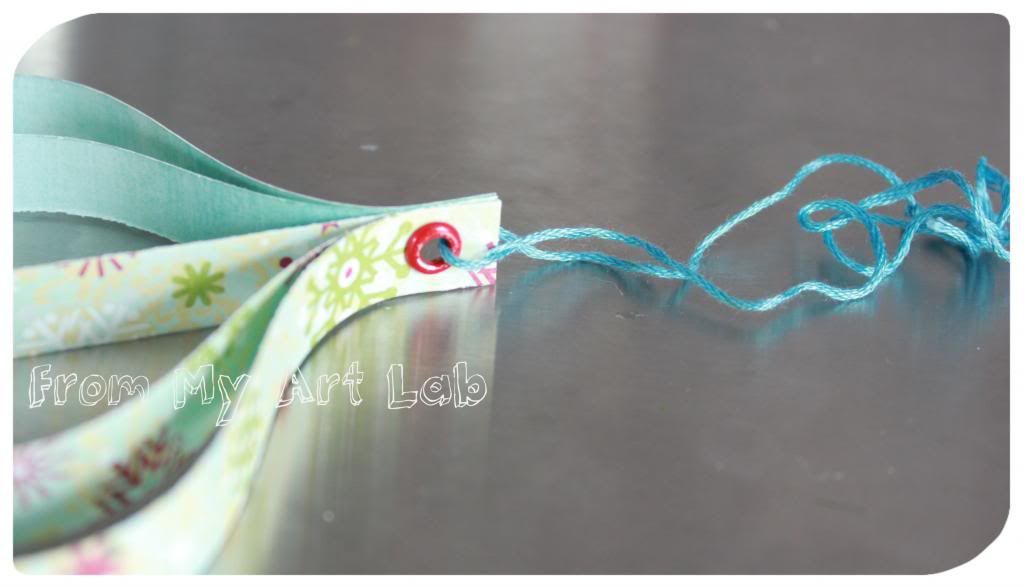
Corta un pedazo de hilo o cinta y amárralo a la parte superior del adorno. El largo del hilo dependerá de tu gusto.
Cut a piece of embroidery floss or ribbon and attach it to the top part of the ornament. It's length will depend on your preference.
Paso 6:
Step 6:

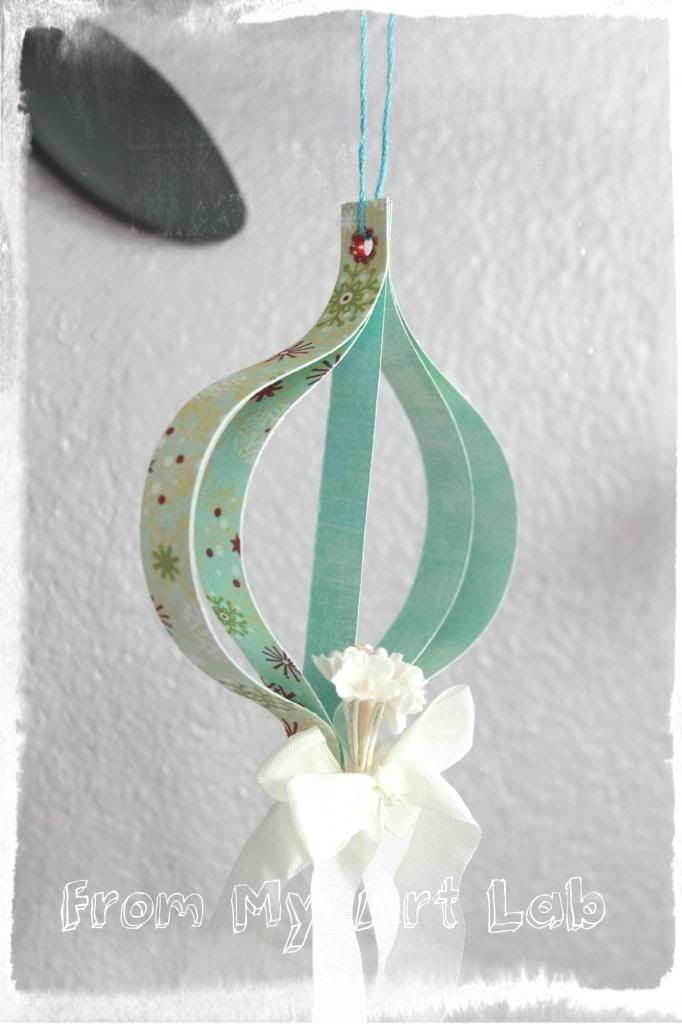
Finaliza tu adorno decorando la parte inferior. Usa tu creatividad ;-)
Finish your ornament by decorating it. Use your imagination ;-)
¡Espero que les haya gustado y gracias por visitarme!!
I hope that you had liked it and thanks for stopping by!!


Gracias por compartir tus ideas como siempre. Te felicito! *Cool idea*
ReplyDelete