Showing posts with label Smash-ing Thursday. Show all posts
,

SMASH*ing Thursday: 1, 2, 3... Say "Cheese"!!


I had the privilege to play with some new chipboard embellishments that the lovely Zoe from Make It Crafty sent me a couple of weeks ago.

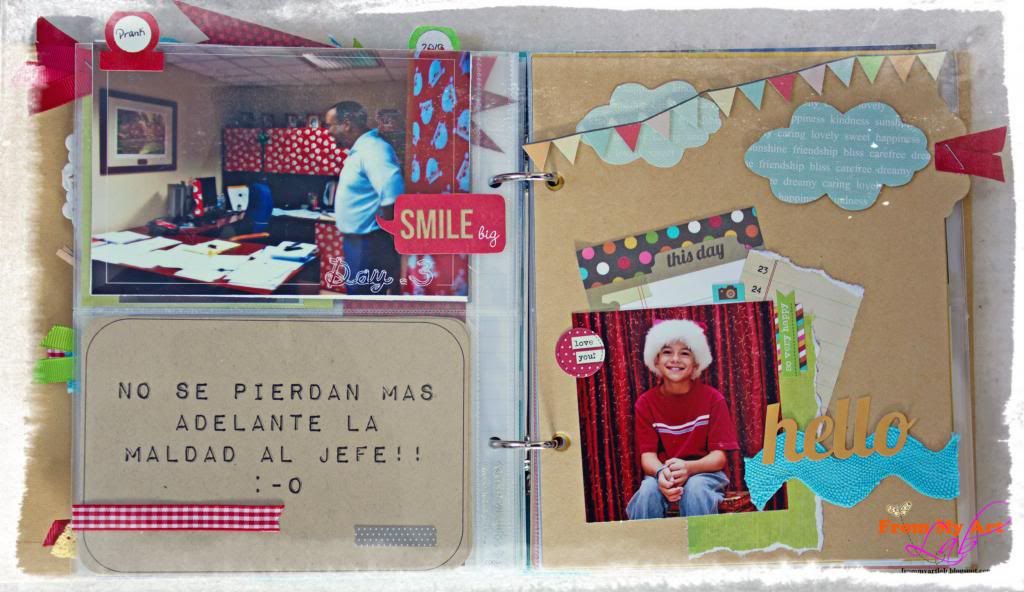
These embellishments are perfect for your Smash Books, as they come in different shapes, sentiments, and even cute tiny journaling tags.

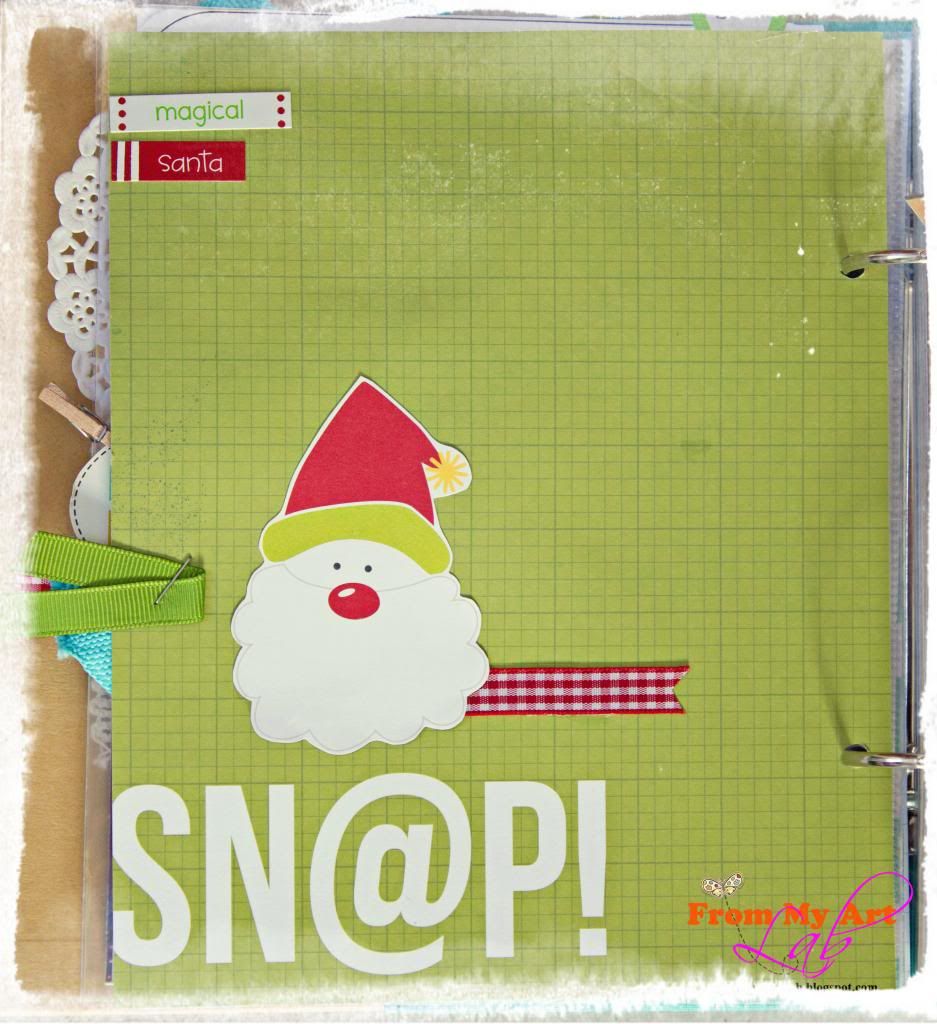
Since I've been lacking of Smash Book *mojo* lately, I decided to play on something else... Smash related of course! to put to test the versatility of these embellishments ;-)

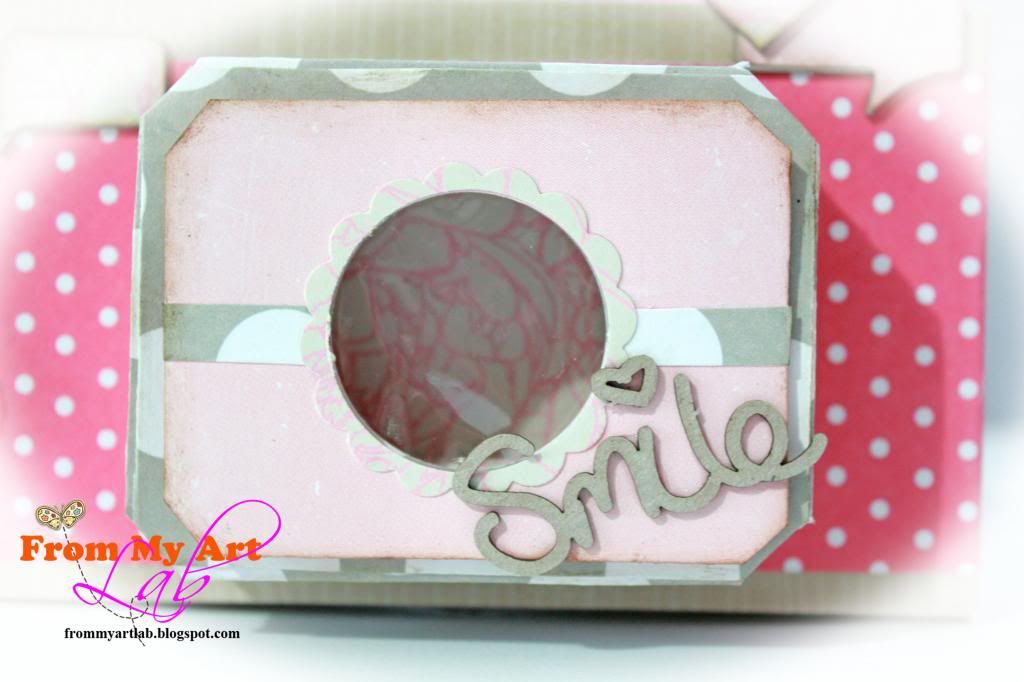
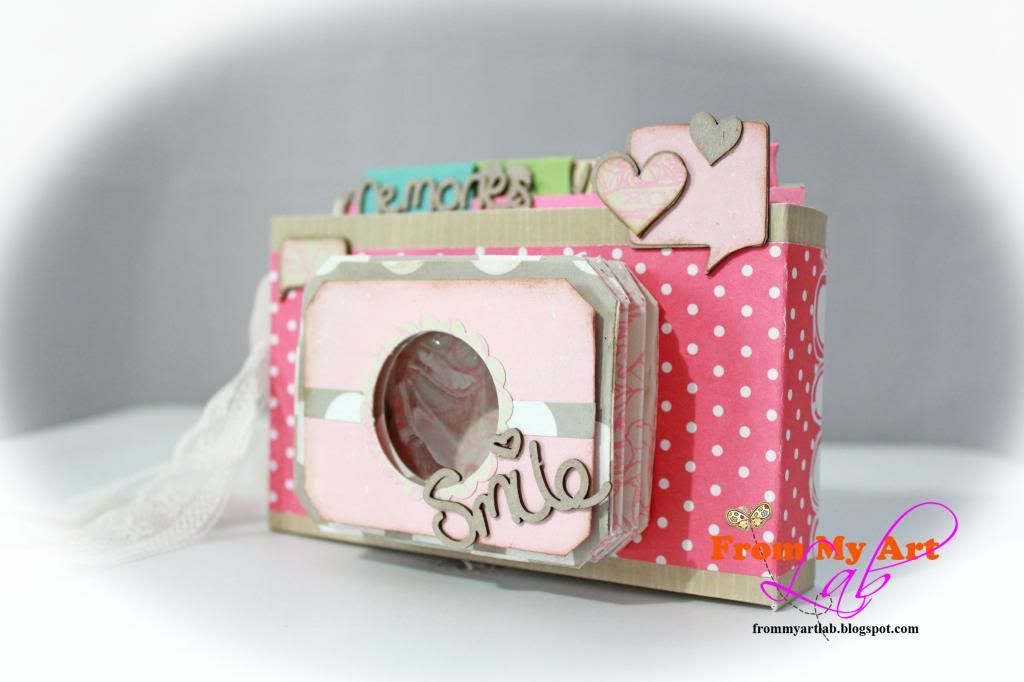
So I created this tiny Instax pic holder:


I stumbled on a similar version of this camera over at Pinterest and I thought that I could come up with my own version of it.


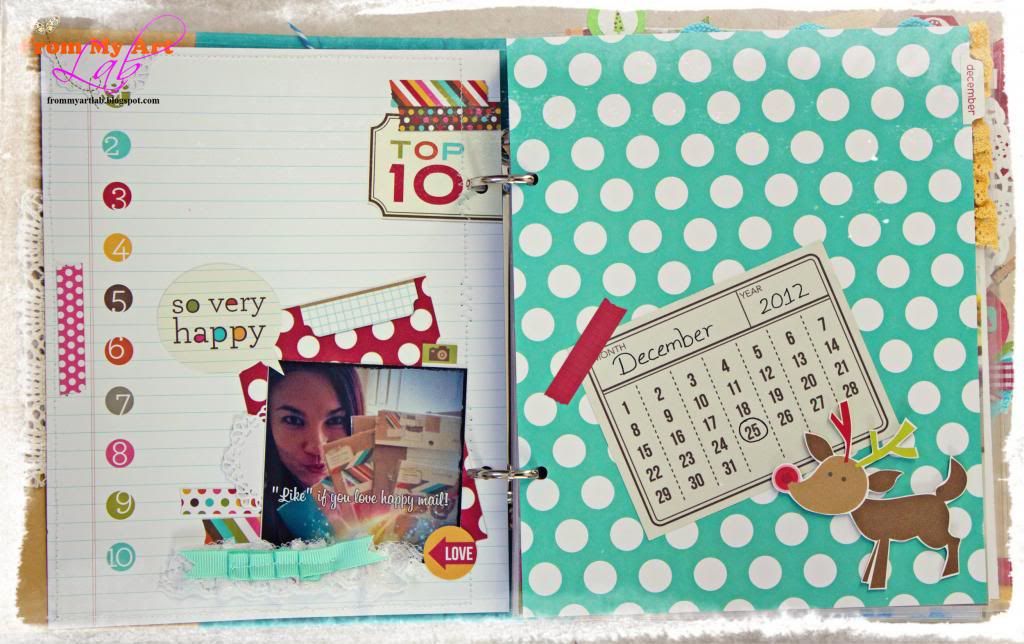
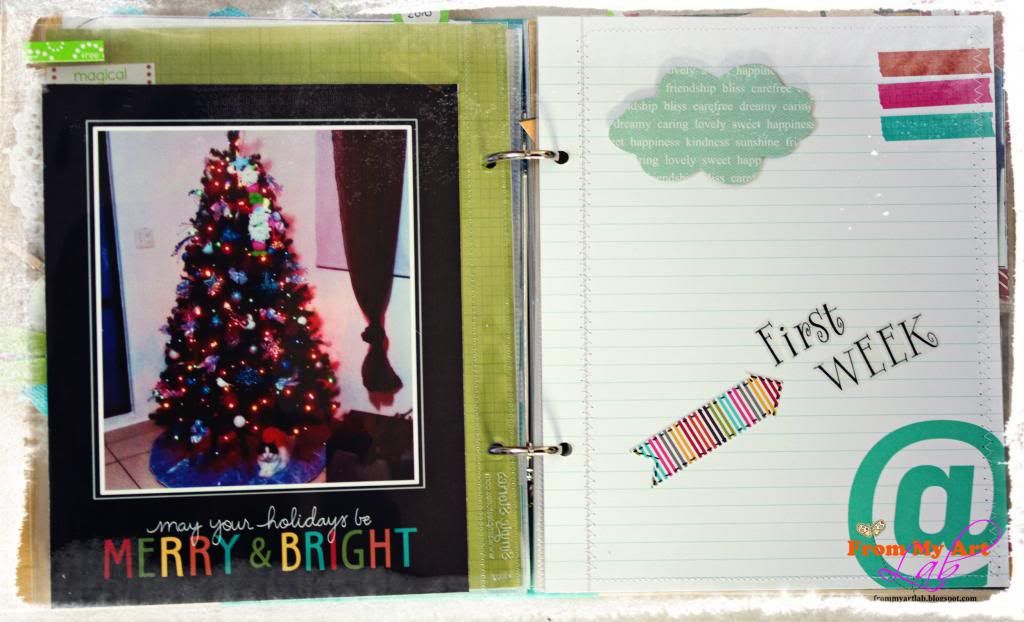
I used papers from Pink Paislee and my scoring board to create this cutie.


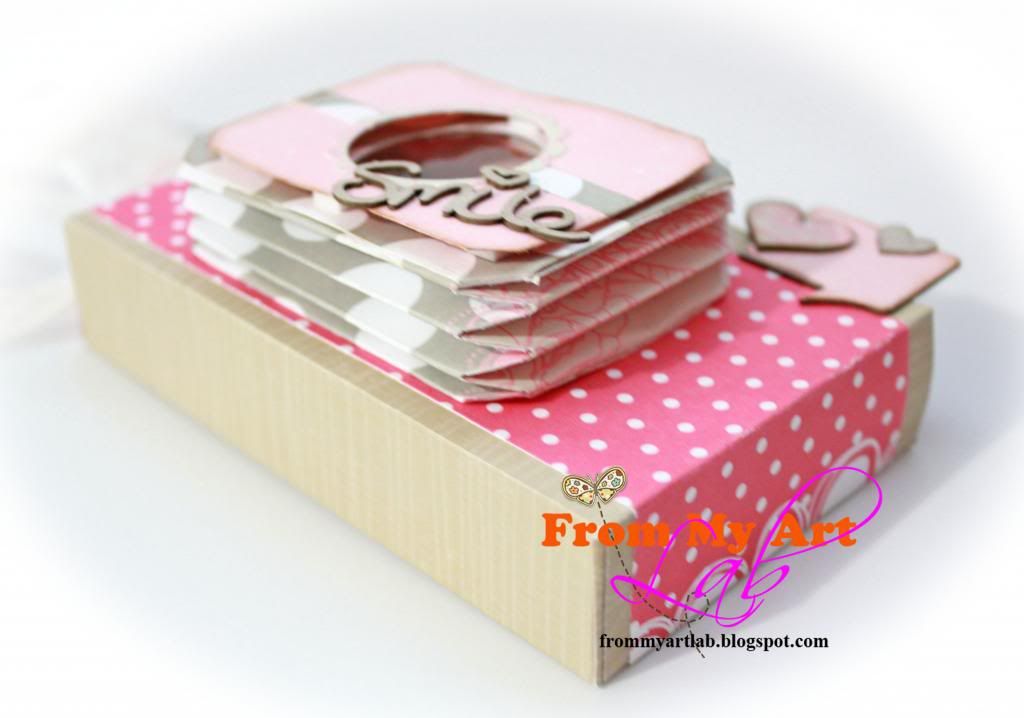
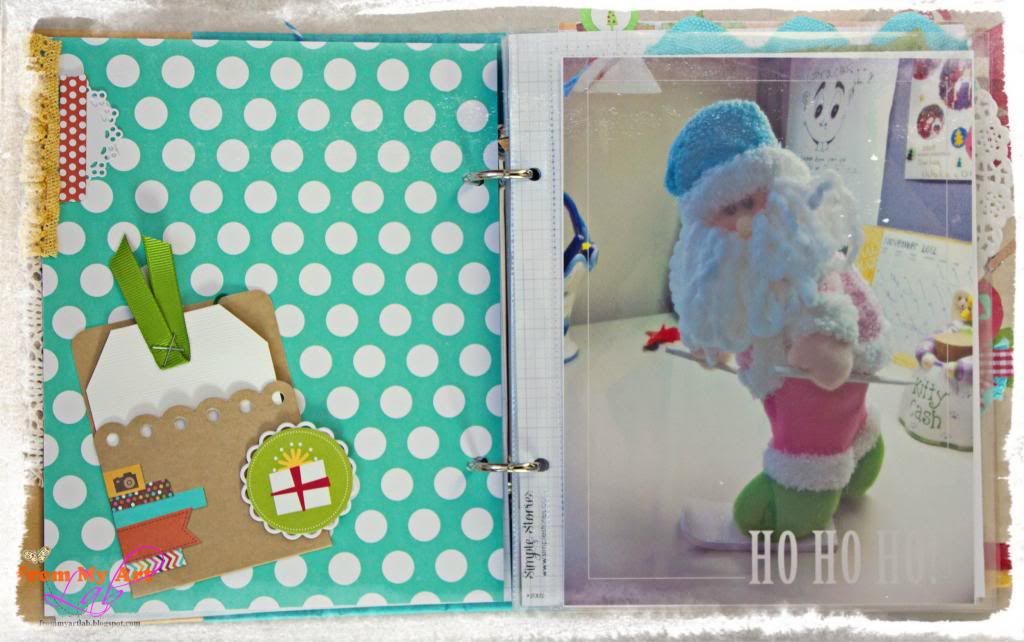
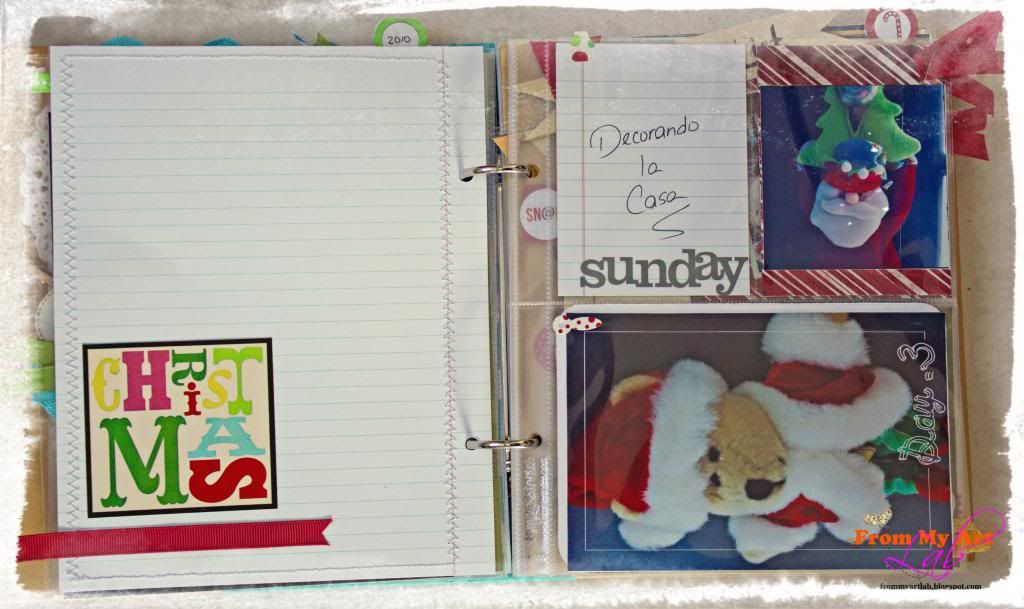
And of course, all chipboard embellishments are from Make It Crafty. For some of these embellishments, I traced and hand cut pieces of patterned paper and adhered them to the chipboard to decorate it. Of course, you can always paint on them with acrylic paint and/or any other medium ;-)


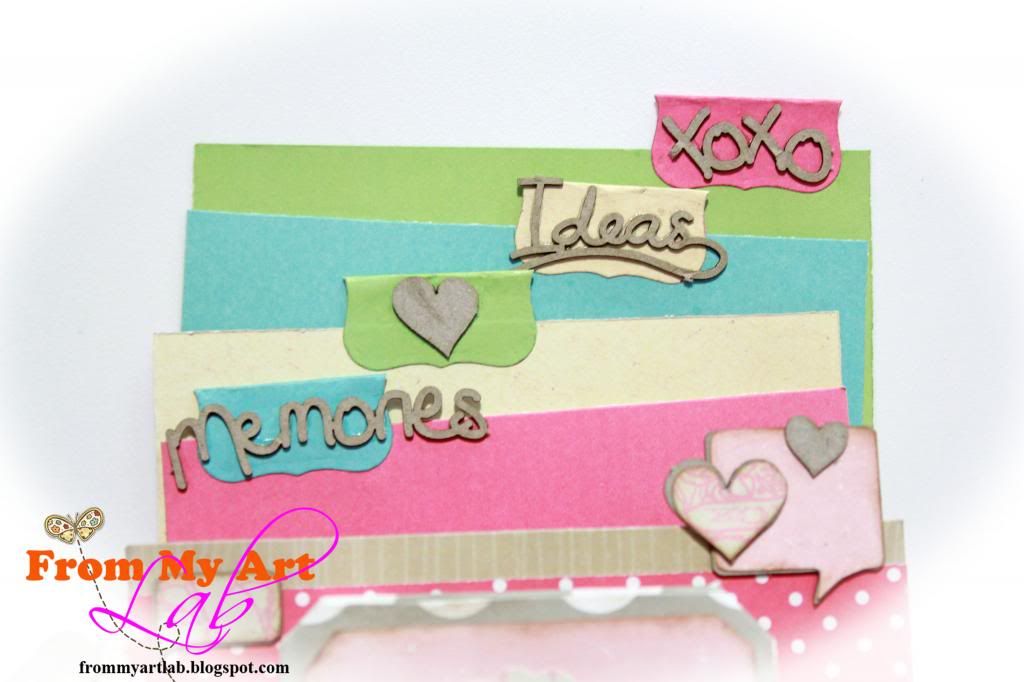
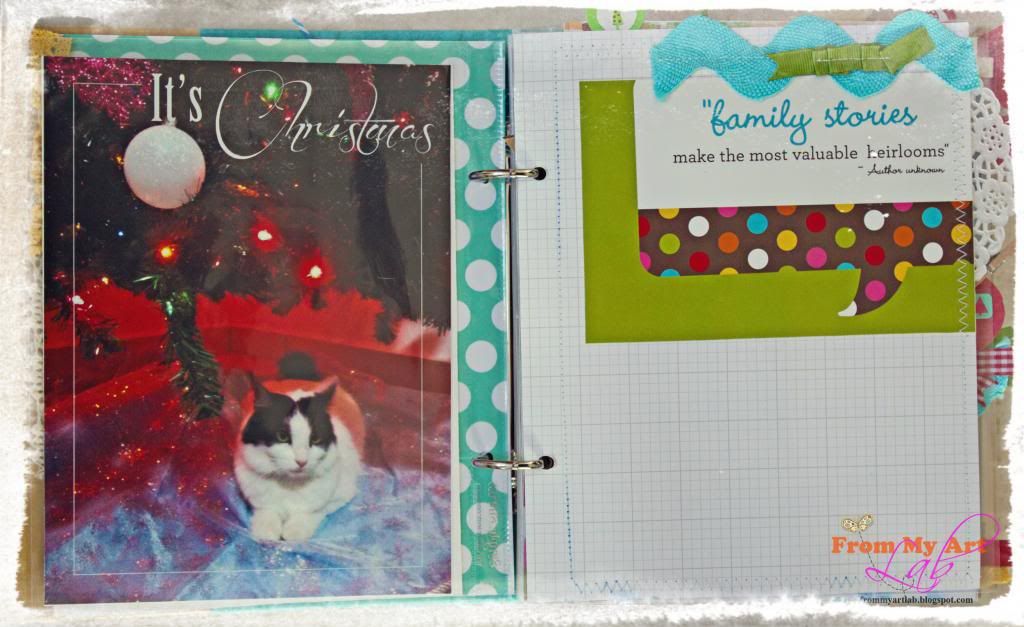
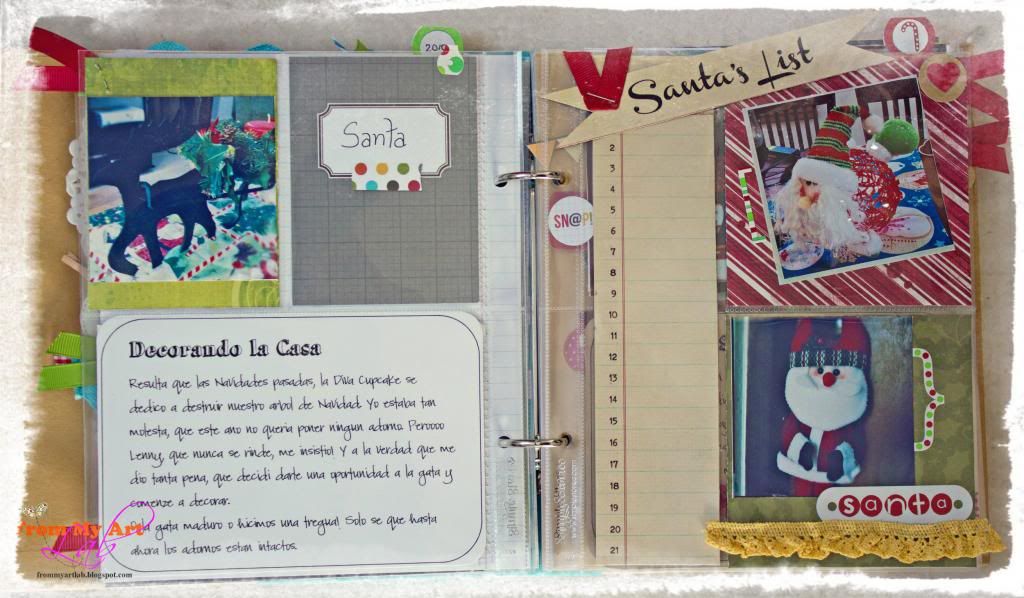
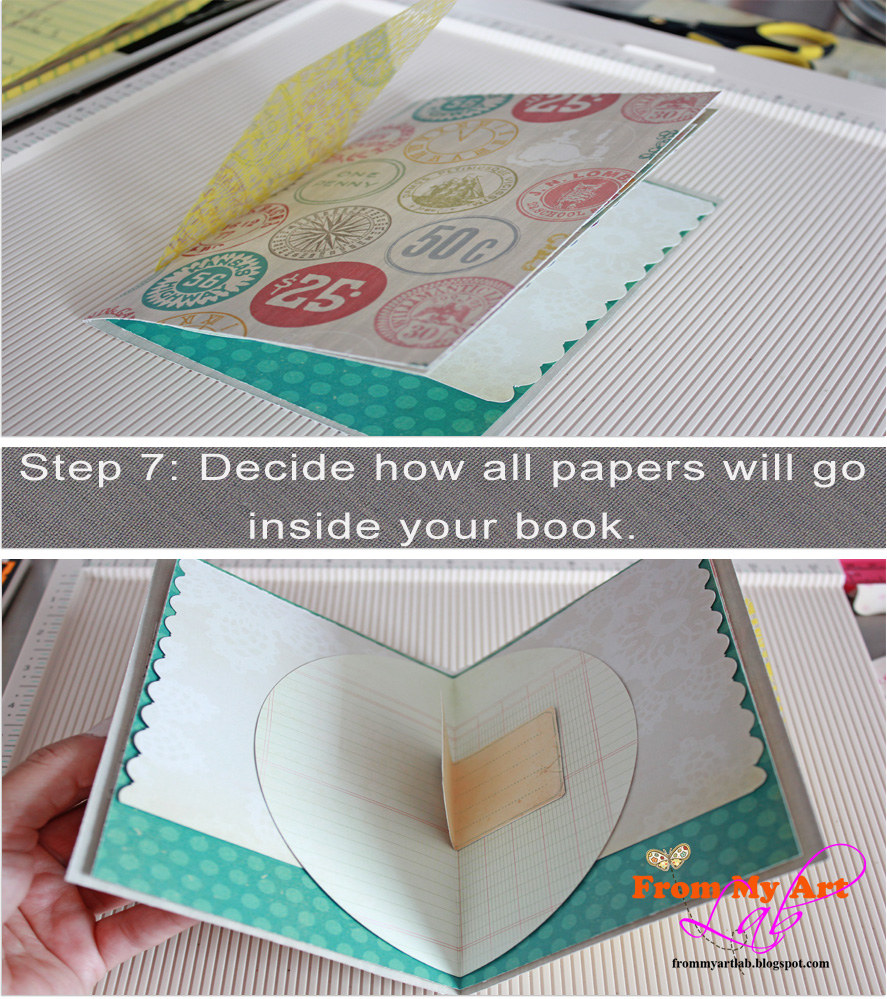
Finally, I created divisions with coordinating paper, handmade tags and more chipboard ;-)

I really like how it turned out! And now I have a cute holder for all of my Instax Mini pics. I also loved playing with these chipboard embellishments!!  They're so versatile, easy to play with, they have a nice size, and they're *really cute* ;-) I hope that you have liked them too!

Thanks for stopping by and don't forget to visit Make It Crafty for many more ideas!!
Share:
Read More
, ,

Smash*ing Thursday: Freebie!

Hi there lovelies,

Guess what? I have a freebie to share with you!!

I've been playing a lot with Photoshop and it occurred to me to create a couple of cards/tags for my Smashing addiction. They're 3" x 4" and are also perfect for all those Project Life addicts out there! ;-)


And then I thought "why not share these with my online friends since they're my biggest supporters" right? ;-)

So as a New Year's gift, I'm giving each one of you a chance to download these cards for free!

But before I give you the link, please note... I would love to create new ones and share them with you, but only if I get a good response. Your continued support and feedback is very important to me in order to keep me motivated to continue creating. So before downloading, please: 1) make sure to become a follower of this blog if you're not one already. The link is to the left of this blog --> and, 2) drop me a line under this post or to my email saying how much you liked them, or how much you did not like them (hope never to see this one...LOL!), or what would you like to see in my future cards... anything!! Like I said, your feedback is very important to me!! ;-)

OK now here's the link.

I hope that you enjoy and Happy Smash*ing!!


Share:
Read More
, , , ,

December Daily & Merry Christmas

So many ladies of the SMASH groups I'm in are jumping in the wagon and doing this December Daily thing...

(click for December Daily by Ali Edwards)

And I said that I wasn't going to make one this year, since last year I started one with my friend Kellie and I totally failed!


I also said that I wasn't going to buy any of these, since they're not my style...


Bahahahaha... yes, you guessed it! I got myself one...LOL!! And yes, I'm also doing the December Daily ;-)

Here's the first part of it:

(warning: pic heavy!)


These tiny pics are 3" x 3", which I took with my iPhone and an app called "Hipstamatic" (it's pretty cool if you love vintage/lomo photography!).


I'm doing a total hybrid out of this album and I'm truly enjoying it! I'm using overlays in my pics (which I added with Photoshop Elements), half of the tags that I'm using were created and printed from my computer using Word and Photoshop Elements, and I'm also doing some mixed media in it too (adding paints, trims and ribbons, metal, etc.) ;-)


As you can see, I'm adding pics and memories from past Christmas. And I'm doing my album in Spanglish (Spanish and English) too! ;-)


Even though the main idea is to document all 25 days of December, I'm not going to do that! Not only I don't have something important/nice to document each day, but also I don't have the time to do it daily. So I will be documenting the important stuff in this journal only.


And why not? I'm also including stories from my office, like the one above... it was a prank a Secret Santa made to our supervisor...LOL!

I'm still working on the 2nd part of this mini album, so stick around ok? ;-)

Now last but not least, I want to wish you all...


 MERRY CHRISTMAS!!
Share:
Read More
, , , , , ,

Christmas Memories Smash Hop

Hi everyone!

Yes, I'm back to English mode again...LOL!

And I'm also back with another *Smash Blog Hop*... Wooohoooo!!!!

This blog hop is very special since my dear friend Mindy Baxter is joining the digital world and is releasing her first digital paper collection :-O


Aren't they cute?

And this is the link to her new store:


Now for this blog hop... by the way, this is your first stop ;-) I created a double spread using my red Smash Book:


See how versatile these papers are?

You can create almost *anything* with them :-)


The cute stamp is from Saturated Canary and I colored it with Copics.


And to create the little envelope, I followed -->this<-- tutorial.

Now your next stop is the most talented Krista.

And remember to leave a comment in order to be eligible to win a prize ;-)

Happy Smash*ing!!
Share:
Read More
, , , ,

Tutorial: Creando un Sobre con el Scoring Board de Martha Stewart

¿Recuerdan el sobrecito que hice para esta página de mi mini álbum embrujado?


Pues en el video que les muestro a continuación podrán ver qué fácil es preparar uno.

Lo único que necesitarán será papel, el scoring board de Martha Stewart y adhesivo.


Para ver el tutorial del mini álbum, visita el siguiente enlace: Mini Album Embrujado.
Share:
Read More
,

*Winner* - Stache Smash Bash Hop

Yes, we have a winner!!


CONGRATULATIONS MARIA!!

You just won this fabulous digi set from the most talented Angie Delarie...

And stay tuned because later today I'll be posting a fun tutorial made specially for all my Spanish speaking fans ;-)

Share:
Read More
,

Stache Smash Bash Hop

Welcome to another SMASH*ing Sisters Blog Hop!!

This time the theme is *mustaches* and since they're so *in* right now, we decided to incorporate them to our Smash Books :-O

But before I show you what I did for this blog hop, make sure that you came from the most adorable Cathy's blog. If not, then click -->here<-- so you can properly follow the blog hop order ;-)

Now for my blog post... here's what I created:


That's my little boy Sebastián making one of his many goofy faces...LOL!


And when you pull out the tag, you'll see this:


I'm using Angie Delarie's cute digi stamps, made specially for this blog hop ;-)


That's my son's signature!! :-O

So do you want to have a chance to win this cute digi set?


Well that's easy! All you have to do is leave a comment under this blog post. A winner will be chosen by the Random Integer Generator and announced in this blog next week. So stay tuned!

Your next stop... the most adorable Kimm!

Happy SMASH*ing!!
Share:
Read More
, , ,

SMASH*ing Thursday: Making a Mini Instax Mat


Hi everyone!

I have a special post for today! :-D

Not only because it's another tutorial...

but because I have made my very first video tutorial in Spanish!!!

Yes, now all of my Spanish speaking friends can enjoy a tutorial made fully spoken in Spanish. Yeah, you read right... not written, but spoken! :-D

Now if you were wondering how my voice sounds like, then this is your chance to listen to me speak. But don't laugh ok? I'm fully aware that I sound funny...LOL!!

OK so to the rest of my international friends: in the following pics I'll be explaining how to make a Mini Instax (or instant camera) mat. I hope it is clear enough for you to understand, but if not, simply email me and I'd be glad to help you out! ;-)

Here's what you'll need:


  • Paper trimmer
  • Cardstock
  • Scissors and pencil

Step 1: Cut a piece of cardstock 3" x 3 1/2".

Step 2: Let's create the window. We will be rotating the cardstock clockwise: Position your cardstock at 1/4" and position the paper trimmer's blade at 1/4" too (see pics below).


Start cutting and stop at 2 1/2".


Rotate your cardstock and start cutting again from that last stop (2 1/2") to 2 3/4". Rotate your cardstock again and start cutting from that last stop (2 3/4") to 3 1/4". Rotate the cardstock once more and start cutting from that last stop (3 1/4") to 2 3/4" or right to where you began. 


Your new mat should look like this:


Optional: If you can't do it visually, use a pencil and mark your stops to guide your cutting.
  • Top left corner: 1/4" from left to right and from top to bottom.
  • Top right corner:  1/4" from right to left and from top to bottom.
  • Bottom right corner: 1" from bottom to top and 1/4" from right to left. (If doing it from top to bottom, the mark should be made at 2 1/2" and 1/4" from right to left.)
  • Bottom left corner: 1" from bottom to top and 1/4" from left to right.


And you're ready to decorate your Daybook and/or Smash Book!


To my Spanish speaking friends, here's my video for you to enjoy :-D


Let me know what you think ok? Thanks for stopping by!
Share:
Read More
,

SMASH*ing Thursday: How to Create Tabs


Hello everyone!

Today I'm going to show you a super quick and super easy tutorial on how to create your own tabs (or dividers).

But first here's what you'll need:


  • Diecut machine (Big Shot, Cuttlebug, etc.)
  • Labels Die Templates
  • Patterned Paper and/or cardstock (that coordinates with your project)
  • Adhesive
  • Bonefolder (optional)

Step 1: Take the smallest label die template, place it in your diecut machine along with the patterned paper (according to manufacturer's instructions) and cut.


Your cut pieces should look like this.


Step 2: Using a bonefolder (or your finger), fold the labels in half.


They should look like this now.


Step 3: Add adhesive to the inside part and adhere to the border of your pages and you're done!!


These tabs are excellent for Smash Books, Daybooks, Mini Books, recipe cards... you name it!

I hope that you had enjoyed this tutorial and don't forget to come back, because next week I'll be sharing another super quick and easy tutorial ;-)

Thanks for stopping by!!
Share:
Read More
, , , ,

Tutorial: Handmade Daybook With A Sewn Spine

OK lovelies, finally here it is...

my tutorial on how to make your own Daybook using your sewing machine to bind the spine!

It is very easy to put together, but if you still have any questions, feel free to email me :-)

But first here's what you'll need:

  • Paper trimmer / scissors
  • Bone folder
  • Border punch
  • Circle cutter
  • Adhesive or double-sided tape
  • Paper clips or paper binders
  • Transparency (I used a 12" x 12" piece from Fancy Pants Designs)
  • At least 5 different pieces of double-sided patterned paper (I used The Sweetest Thing Collection by My Mind's Eye)
  • Doily, tag (and any other embellishment that you want)
  • Sewing machine / coordinating thread / heavy needle (100/16 sized needle)
Step 1:


Step 2:


Step 3:


Step 4:


Step 5:


Step 6:


Step 7:


Step 8:


Now let's start sewing:


Check out -->this<-- blog post to see the entire book finished.


And don't forget to come back on Thursday for a video tutorial for Saturated Canary You Tube Channel.

Thanks for stopping by!!
Share:
Read More